Category Archives: Cooking
BBQ Beer Chicken
One of my bucket list items were checked off last week when we had the sunny weather that seems to have deserted us in recent days. I have always wanted to BBQ a whole chicken and since the purchase of the Jamie Oliver kettle BBQ I couldn’t wait to try it.
There is a handy device that I purchased from B&Q for cooking chicken on a BBQ. It allows you to place a can of beer on a metal plate which is under some metal arms. The chicken slides over the arms which allows the can of beer to sit inside the chicken. As the chicken is cooking on the BBQ the can of beer allows the chicken to maintain it’s moisture preventing a dry chicken.
The beauty is it allows the chicken to crisp up nicely on the outside whilst giving the chicken an amazing flavour. I used a can of Hobgoblin which is a favourite Ruby Ale of mine. The medium sized chicken took just over 2 hours to BBQ cook and the smells coming from the Kettle BBQ were delightful.
I used a couple of bags of self lighting charcoal to create a white hot base which heated up to a suitable temperature after 30 mins. The photos below show the stages explained above. The beauty cooking with the can of Ruby Ale is the chicken melted away from the bone when carving it. This is the best way to cook chicken and it is certainly something I’ll be doing again.
1. The chicken in place on device with Hobgoblin can sat under it.

2. The chicken after an hour on the Kettle BBQ, it’s starting to brown.
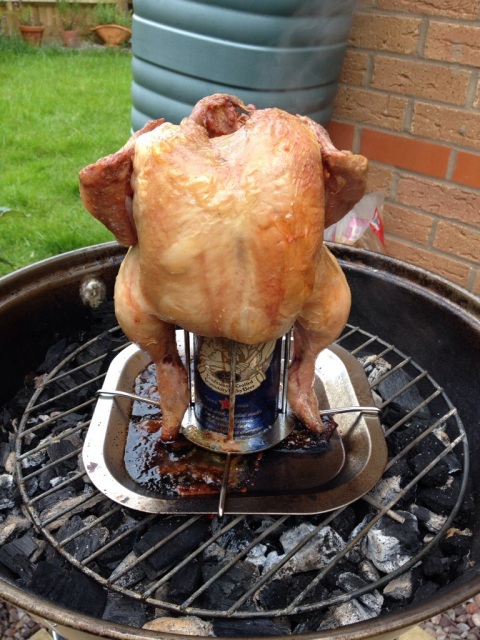
3. Just over two hours later and it’s ready to come off the BBQ.
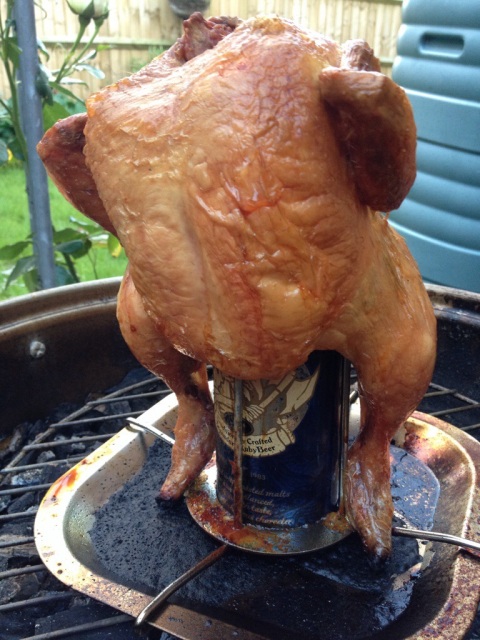
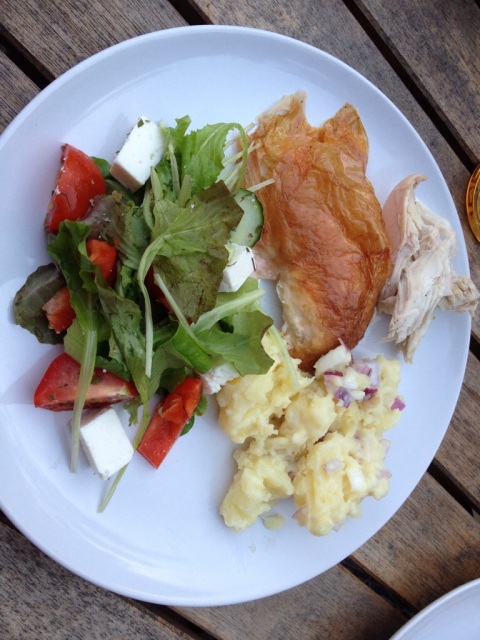
4. Carved up and ready to eat.
This is an amazing way to cook chicken and one that could be replicated when entertaining a group of friends. It’s certainly more cost effective than that of burgers and sausages.
DarcyB
York City Adventure – Part 2
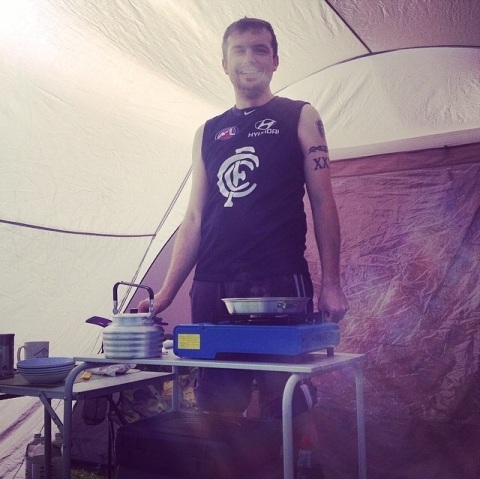
Bank Holiday Monday promised a day of sunshine and dry weather, this was the reason for deciding not to pack a jacket with me on our second day exploring York. I cooked us a couple of sausage sandwiches to ensure we started the day with a full stomach, the sun was out as we left the campsite to head back into the city.
Today was going to be another day of new adventures, one that started by walking around the first part of the city walls. 75% of York is surrounded by the original Roman walls and these have been modernized in parts and repaired to allow walking access along them. The turrets with arrow slots paint exciting Images in my mind as I could see the Roman Army defending York from these points in history. This is when the weather decided against following the forecast and the first light showers hit us. I was determined not to allow these showers put me off as we left the City Walls and headed towards York Minster.

York Minster is an impressive building, whose walls contains a lot of stories and historical events. Richard the Thirds young son was buried within these walls decorated with numerous examples of breathtaking interior design work. We decided not to visit the tower but that didn’t dampen the experience. There is a display that shows the work that is currently being undertaken with one of the largest stain glass windows. They are removing the panels one by one and cleaning them and resetting the panels. Each panel can take up to 1,000 hours with a cost of over £10,000 to repair. York Minster costs £20,000 per day to run and operate which is hard to imagine but after exploring it you can understand why these costs exist.

York Minster has had to have some major foundational restoration work carried out. The East wing started to sink with cracks appearing in it. The Minster was saved with hard work and over £250,000 raised to carry out the emergency work required. Some of the bolts driven into the foundations are visible as we walked under the basement of the Minster.
We grabbed a drink in the Guy Fawkes Hotel bar which is another historical landmark in York. Guy Fawkes stayed here before his involvement in the failed gunpowder plot. I learnt so much about the story of what happened, I didn’t realise he was Catholic and wanted to lead the revolt to put a Catholic head of the monarchy in place. We “plotted” our next part of the day before deciding to head into Stonegate.
At 35 Stonegate there stands another haunted house. This place has had some convincing reports and reviews so with some gentle persuasion I managed to persuade my Fiancé to join me. The woman who managed the place gave us a brief introduction before our tour started and we were left alone.

The tour lasted around half an hour as we were led around by audio commentary around the rooms. Some of the rooms were in darkness as I tried to take photos with my phone. There were a couple of instances where I felt a strange sensation. When I sat down on the bench in a room surrounded by old masks and various artifacts I felt a sharp cold sensation on my back.
The tour carried on up narrow stairs and darkened rooms. In the attic I thought I saw a golden sparkle in the corner of the room where a child’s cot sat. It was very obvious and something else that added to the feeling I was being watched. The final room had a large table with leather seats positioned around it. The table was set up for a seance with a glass globe positioned centrally on it, this room felt wrong. As we left Lisa my fiancé felt a bit faint as we made our way to The Punchbowl pub to grab some dinner. A couple of delicious cheeseburgers later and we were back on our way to explore York Gardens.

York Gardens have some amazing ruins and colourful plants within the grounds. We had a lovely walk around and couldn’t help but be amazed by how some of these arches were still standing. The sun came out as we enjoyed the calming atmosphere that these gardens brought us. We walked through them to the other side before we rejoined the City Walls to finish off our day in the city.
The final night chilling at our Campsite was enjoyable as we ate cheese and crackers whilst finishing off the film American Hustle. The weather during the night was terrible as the heavy rain bombarded our tent, fortunately for us this stopped in the morning. Getting the tent packed up in dry conditions was a relief and we were soon off on our way home.
Thank you York for a truly amazing long weekend, we did so much but have so much more to come back and do.
DarcyB
Spaghetti Bolognese
It has been a while since I’ve written about cooking, so what better opportunity than now. Tonight I tried out my home made version of the traditional dish Spaghetti Bolognese. Surprisingly this is the first time I’ve cooked this dish of mine in a very long time. I would be interested to hear back from anyone with their ways of making this.
To make my version I use the following ingredients:-
400g Lean Mince Meat
400g Chopped Tomatoes
1 Large Onion
1/2 Small tin of Kidney Beans
3 Squeezes of Tomato Purée
175ml Red Australian Wine
3-4 Large Bay Leafs
2 Pinches of Thyme
Generous Serving of Olive Oil
Large handful of Spaghetti
To start I heat up the Olive Oil in a large Sauce Pan and add the Mince Meat. Breaking up the Mince Meat in the pan so it cooks evenly, I will leave this to cook until it turns brown and the juices fully evaporate. This takes around ten minutes with the hob on setting 3.
I then add the Red Wine to the Mince Meat and again leave this to simmer until the Red Wine is fully absorbed. At this point I add the chopped onions and allow the juices from the onions to soak into the Mince Meat, leaving the hob at Level 3.
I will then add three squeezes of Tomato Purée to the Mince Meat and Onions and stir in. This is followed by the Tin of Chopped Tomatoes and I’ll bring the dish to the boil for five minutes. The saucepan is covered with the lid during this part.
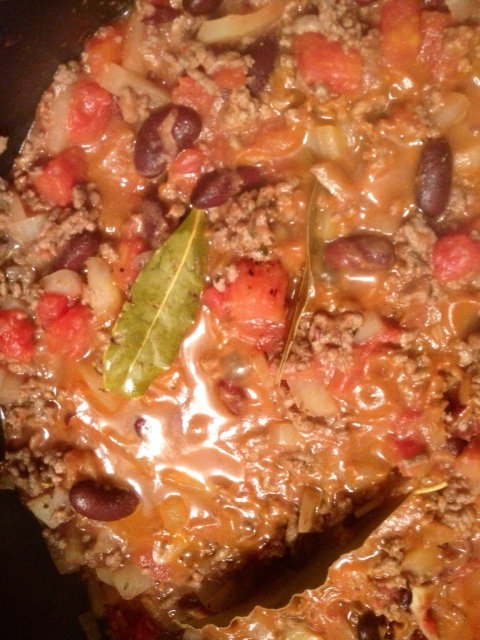
After 5 minutes I turn the hob back down to simmer on Level 3 and add 3-4 large dried Bay Leafs and 2 pinches of Dried Thyme. This is left to simmer for 15-20 minutes. The Bay Leafs are removed before serving because all of the flavour has left them.
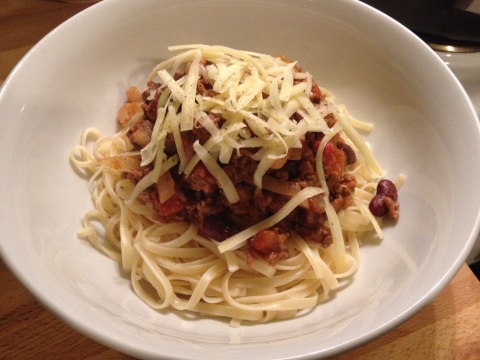
I will get the Spaghetti on and give it 10 minutes as the sauce is simmering. Pop the bowls in the oven to warm them up, drain the spaghetti and serve.
I always grate some cheese and sprinkle it over the top and serve with The remaining Red Wine. Perfection!
I hope you enjoy this and let me know how it works for you.
DarcyB
Pickling Beetroot
Tonight I decided to preserve the two mammoth Beetroot that I picked from the garden a couple of days ago. I’d love to claim ownership of this recipe, but I wouldn’t take that away from a certain Delia “Lets be Avin you” Smith. That was a football reference for my non football following followers, google it! The steps are easy and I’ve attached some of my photos from each stage.
Quantities required are:-
450g of Beetroot
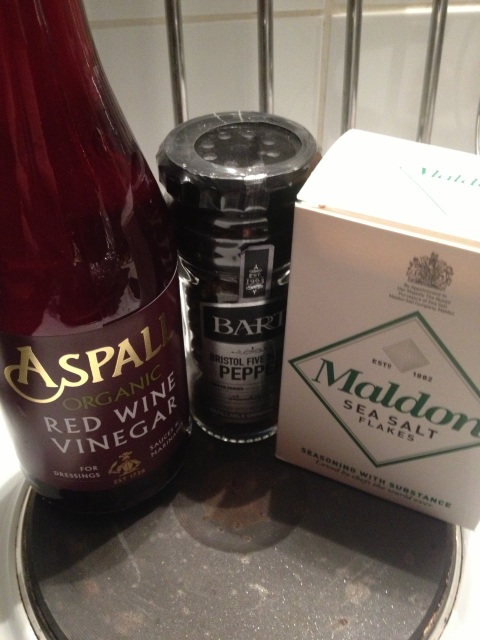
175ml of Red Wine Vinegar
1/2 teaspoon of Mixed Pepper Cloves
1/2 teaspoon of Maldon Sea Salt Flakes
2 x Shallots
This little lot cost me £6.90 but then I grew the Beetroot so probably around £8 if you had to buy them. I also chose an Organic Red Wine Vinegar, it only seemed fair!
You will also require a 1/2 liter glass jar to keep this in once completed. This must be sterilized before hand. I just wash it and put it in oven at no more than 130c to dry out. The rubber seal is washed by hand and placed in kitchen roll to dry.
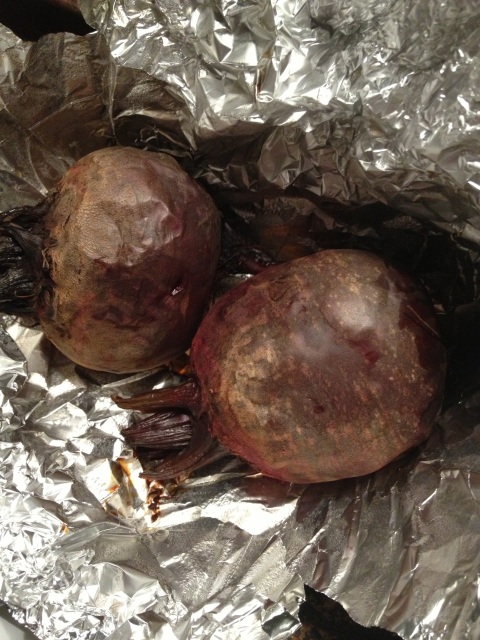
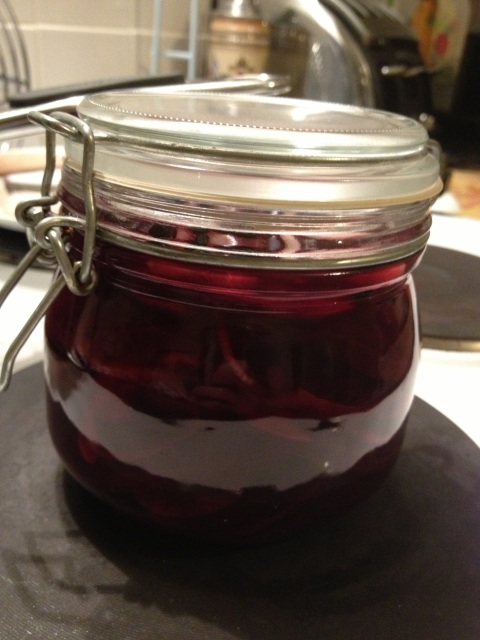
Firstly you need to cut back the stalks and roots to no more than an inch on the Beetroot. All you need to do then is wash them but leave the skin on. Wrap these in a parcel of foil and put on at 190c for a minimum of 3 hours. Mine took just under this but I tested how well they were cooked by using a skewer tip to see if it glided through softly. They should look similar to my effort below:-
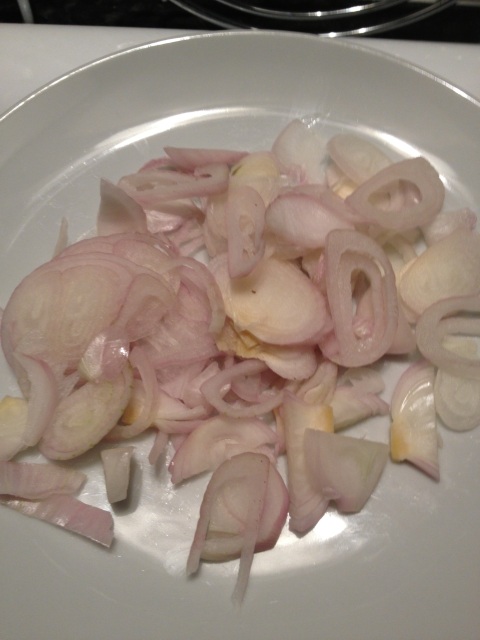
It was at this point I peeled the two shallots as this allowed for the Beetroot to cool down and chopped them finely. Once these were chopped, I started to prepare the vinegar.
The vinegar sauce or dressing whatever you call it is simple to make. Take the 175ml of Red Wine Vinegar and add the 1/2 teaspoon of Pepper Corns and Sea Salt to it. Being to the point of simmering and then you can take it off the hob. This gives you a lovely mixture of colors and a very strong smell. I ended up requiring 250ml of the Red Wine Vinegar so be prepared to pro rata extra Pepper and Salt to suit this. It was at this point I peeled the Beetroot that had cooled down and started chopping them finely.
Now you need to take the sterilized jar and make sure it is still warm. If you don’t you risk a cracked jar. You need to layer the Beetroot and Shallots so they form nice compact layers. Once you have done this to just below the top of the jar, you are ready to add the Vinegar.
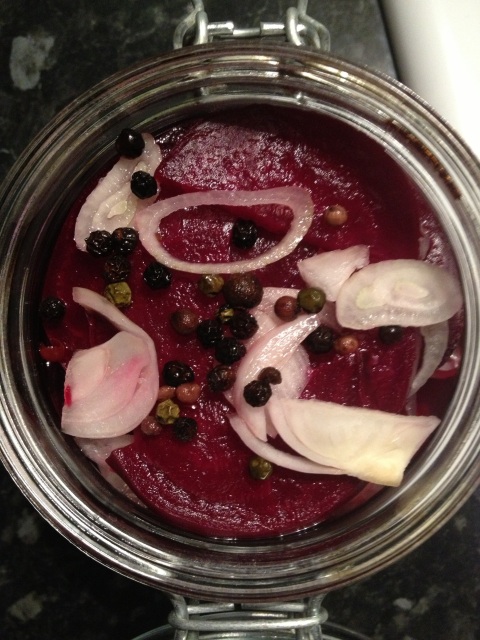
I poured the Vinegar from the Pan back into the glass jug as it is easier to fill the Jar this way. In order to ensure the risk of cracking is removed, once the vinegar had reached simmering point, I sat the jar in cold water. This allowed it to be cooler. I then poured slowly the Vinegar with Pepper Corns shimmering into the jar, ensuring the top layer is covered.
Once this was completed, I shut the jar tight and clanked the lid down. According to Delia this will be edible in 2 days. It can last up to 2 years, I think I will be nibbling on this sooner. Please note the Shallots are added raw and not cooked. Only time will tell how good these taste, but I’m going to give the ease of this recipe an 8/10. The only down side is the 3 hours waiting for the Beetroot.

